Friday, March 21, 2025

Round We Go for As You See It Challenge #344

round we go for aysi #344 1

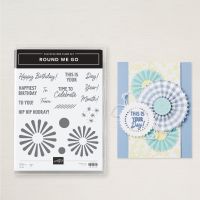
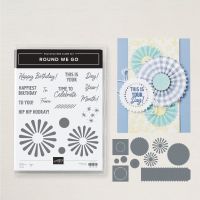
Welcome, Stampers! This week's As You See It Challenge was a lot of fun to work with! It is a sketch challenge by our team mate Deborah! I love the sketch she gave us because it's simple enough to allow for a lot of variety and I know it's going to be fun watching all the entries come in. I had originally thought about peek-a-boo animals, but all my animals were too big or otherwise unsuitable, so the Round We Go bundle caught my eye, and while I'm on the In Colour kick, I got out the 2024 - 2026 In Colours again. Take a peek at the sketch on our Challenge Banner:

 
challenge #344

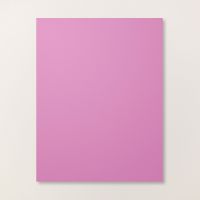
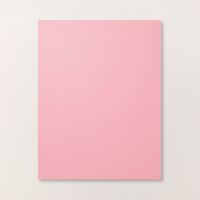
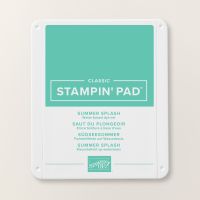
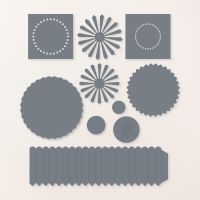
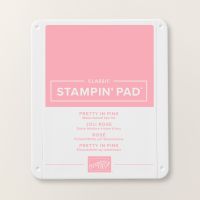
The challenge is called Stacked Shapes, because those circles could be any shape, but the little pinwheels from Round You Go fit the circle shape perfectly. I die cut two of each of the following colours Summer Splash, Petunia Pop and Pretty in Pink, and combined them in 3 different ways, gluing them together in the middle. Here's the final result:

round we go for aysi #344 2


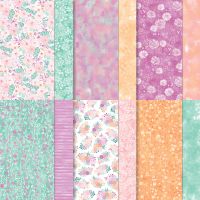
  • I used a 1 1/2" strip of the Unbounded Beauty DSP, which has the same In Colours in it to mount the three pinwheels on. 
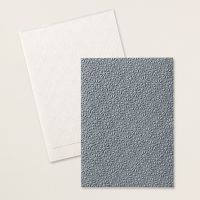
  • On the thick Basic White card base, I added a piece of Basic White cardstock, measuring 4" x 5 1/4", that had been run through the Stampin' Cut & Emboss machine in the  retired Starstruck Embossing Folder.
  • On this I glued the DSP and the pinwheels, as shown.
  • The banner at the bottom is a 3/4" piece of Basic White cardstock with the sentiment, also from the Round We Go stamp set, stamped in Summer Splash ink.
  • It was mounted using Stampin' Dimensionals.
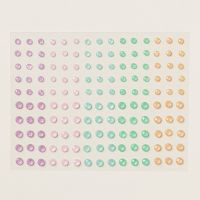
  • To embellish the card I used the 2024 -2026 In Colour Shimmer Gems.
Simple, but fun!

round we go for aysi #344 3

If you live in Canada, and don't have a Stampin' Up! demonstrator, I'd love to be yours. I can help you with ideas, get you catalogues and provide you with Stampin' Up products. You can leave a message in the comments or contact me using any of the methods listed in the right side bar at the top of the page. You can shop with me from anywhere in Canada by clicking on the SHOP NOW button in the top menu or clicking on any of products below from my Online Store.

Product List

* Retired

Friday, March 7, 2025

Terrific Toadstool Punch for As You See It Challenge #343

terrific toadstools for aysi #343 1

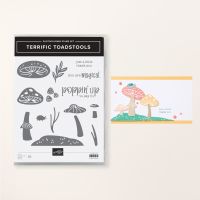
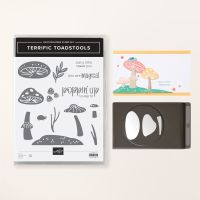
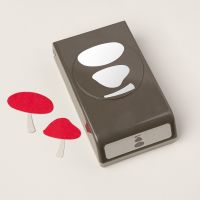
We've rolled around again to our Speed Stamping Challenge, where you have to make a card in under 10 minutes! Team member, Joanne, came up with the idea to use Punches as the theme for our cards, and I must say, it was a brilliant one! I don't have a ton of up-to-date punches, but I did get one from the Jan/Apr. Mini Catalogue and that was the Toadstool punch that coordinates with the Terrific Toadstool stamp set! The only problem is that the images are small and need to be stamped first, which is a little iffy for a speed challenge! Here is the Challenge Banner:

challenge #343

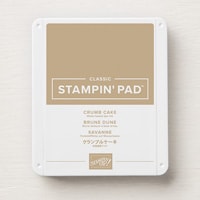
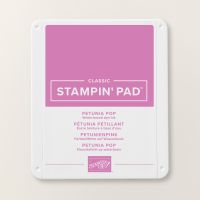
 I decided to use all 2024-2026 In Colours for my mushrooms, except for the stems, which I stamped in Crumb Cake. I started out trying to stamp my pieces in the exact placement needed for the punch, so I could punch all three out at once, then realized what a waste of time that was, and punched single images after that. 

terrific toadstools for aysi #343 2
  • On a Petunia Pop base I added a Pretty in Pink matte, rounding off the corners of the panel.
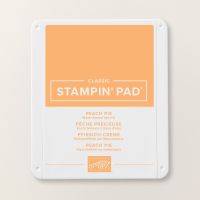
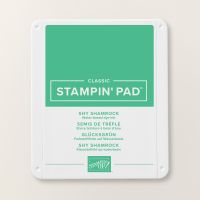
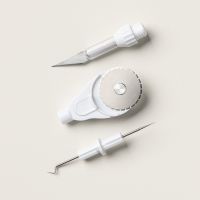
  • On a piece of Basic White, 3 3/4" x 5", I stamped the grassy piece in Shy Shamrock ink and added the sentiment below it, in Peach Pie. I stamped two mushroom stems in Crumb Cake. The larger one needed to be cut away at the top using a craft knife, so the mushroom cap could fit underneath. The three small mushroom caps were stamped in Pretty in Pink.
  • I stamped the two mushroom caps and medium stem separately on the paper and used the punch to punch them out. I glued on the large mushroom cap, slipping it under the cut end. I added a glue dot under the end of the stem to keep it in place. 
  • I glued the smaller stem to the smaller cap and added dimensionals to the backs, and added them to the card front.
  • I rounded the corners and adhered it to the bottom layers.
At the end, it took me 9 min and 50 sec. to complete!

timer
I'm counting down here so this shows 10 sec left, which means I took 10 m 50 s to finish.

march paper pumpkin


You still have a couple of days to subscribe if you want to get this beautiful March Paper Pumpkin kit, Daisy Daydream! To subscribe click HERE for the last time. After this, Paper Pumpkin will be available through the regular Stampin' Up! store!


New Products Available Online:

                             
on line exclusives

online exclusives 2

This suite is beautiful! I've just got it! Go to my Online Store to order.

terrific toadstool punch for aysi #343 3

If you live in Canada, and don't have a Stampin' Up! demonstrator, I'd love to be yours. I can help you with ideas, get you catalogues and provide you with Stampin' Up products. You can leave a message in the comments or contact me using any of the methods listed in the right side bar at the top of the page. You can shop with me from anywhere in Canada by clicking on the SHOP NOW button in the top menu or clicking on any of products below from my Online Store.


Product List
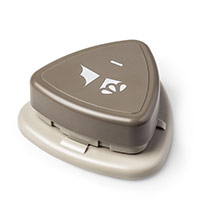
Curvy Corner Trio Punch
[139683]

Friday, February 21, 2025

Winterly Tree Tops for As You See It Challenge #342

winterly tree tops for aysi #342

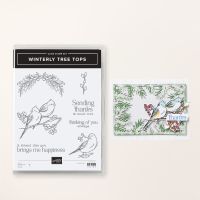
It's theme time at As You See It Challenges and our team mate, Jane, has come up with a sweet one, For the Birds, a bird theme. Most everyone has a bird themed stamp set or patterned paper to work with so this topic will appeal to most. I decided to go with the little birds in the Winterly Tree Tops suite, carried over from the Sept/Dec Mini catalogue. Here's the Challenge banner.

challenge #342

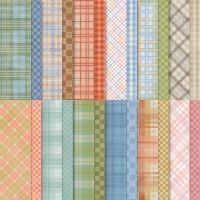
I decided to go soft colours and off white, so I chose the Timeless Plaid DSP, Crumb Cake and Basic Beige cardstock.

winterly tree tops for aysi #342 2

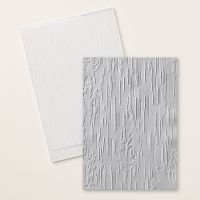
  • On a card base of Crumb Cake, I added a 4" x 5 1/4" piece of Basic Beige that I embossed using the Birch Wood 3D embossing folder and lightly enhanced with Crumb Cake ink using a Blending Brush.
  • I cut a 1 1/2" x 5 1/4" piece of the Timeless Plaid DSP and glued it at the bottom of the Basic Beige piece, then adhered both to the card front.
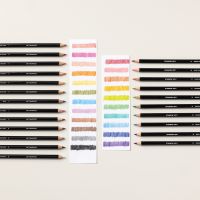
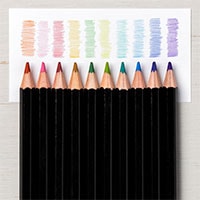
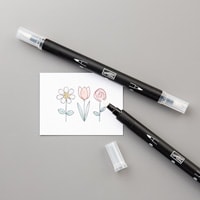
  • I stamped the two bird image on Basic Beige with Memento Tuxedo Black ink and then coloured it in using our Watercolour Pencils, Assortments 1 & 2. I used a Blender Pen to lightly blend out the pencil strokes and blend the colours together.
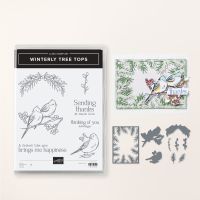
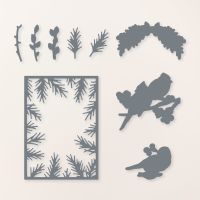
  • I die cut the image using the Winterly Tree Top dies, and added it to the card front using Stampin' Dimensionals and Mini Dimensionals.
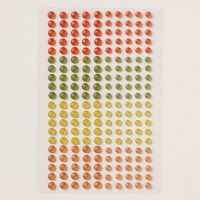
  • As embellishments, I added some Faux Glass Dots.
sab 2025 1

Sale-A-Bration 2025 is almost over! Your ability to earn rewards, or to join Stampin' Up! with a bonus ends in one week from today! Don't miss out on these great deals!


winterly tree tops for aysi #342 3


If you live in Canada, and don't have a Stampin' Up! demonstrator, I'd love to be yours. I can help you with ideas, get you catalogues and provide you with Stampin' Up products. You can leave a message in the comments or contact me using any of the methods listed in the right side bar at the top of the page. You can shop with me from anywhere in Canada by clicking on the SHOP NOW button in the top menu or clicking on any of products below from my Online Store.

Product List